There is always something quite daunting or challenging to walk into your classroom the first time to see it empty of children and only the furniture and remnants of last years’ final activities still lurking in the rubbish bins and/or stock cupboard. This ‘space’ is going to the be the learning environment of both yourself and your class so it is important to start to think about how this will be managed. First on the list….displays!
Anyone who knows me understands that colour and art are, by far, my weakest points. However, I do like to have a classroom that looks appealing and, perhaps more importantly, supports and encourages the children’s learning. With this in mind, by first job, even before I move the furniture, is to see where the display boards are and how I will use them. Now before you continue to read this, please remember that this is not going to be a post about the theoretical information about the use of displays. This is just my way of doing things.
- What and where? – The first thing I always do in my classroom is to look around and see what has been already designated as a display board and what I could use as a display area. The former are usually quite easy to recognise – they are the big expanse of space which have some sort of hardboard on them :). The latter are areas which I think I might be able to use for display. These could be down the sides of the IWB, windows, small spaces on the wall and even places where things can be hung from the ceiling. Now in my last school, you were not allowed to stick things to the wall, so always remember to think about how your display will be attached. You don’t want the caretaker staring at you as s/he has to repaint the walls during summer because you used sellotape or the blu tac took off the flakey paint.
- Purposes? – In my own mind, I have some distinct purposes for my displays. I prefer to display artwork and photographs of activities etc outside the classroom. This I usually do in the corridors or in the cloakroom and, if possible, in a place where the parents can see them. It is important to have an area where the child can show their parent(s) their work or what they have been doing (in addition to the virtual learning environment of course). That leaves the display within the classroom for support and working walls.
- Support These tend to be fixed displays that do not alter throughout the year and provide continuous support for the children. These could be numberlines, alphabets, key words (but only if you will be engaging with them within your lessons ) and phonic information. It is important for these to be in the same place so that the children always know where they are. These I tend to use small spaces for e.g. the sides of the boards etc.
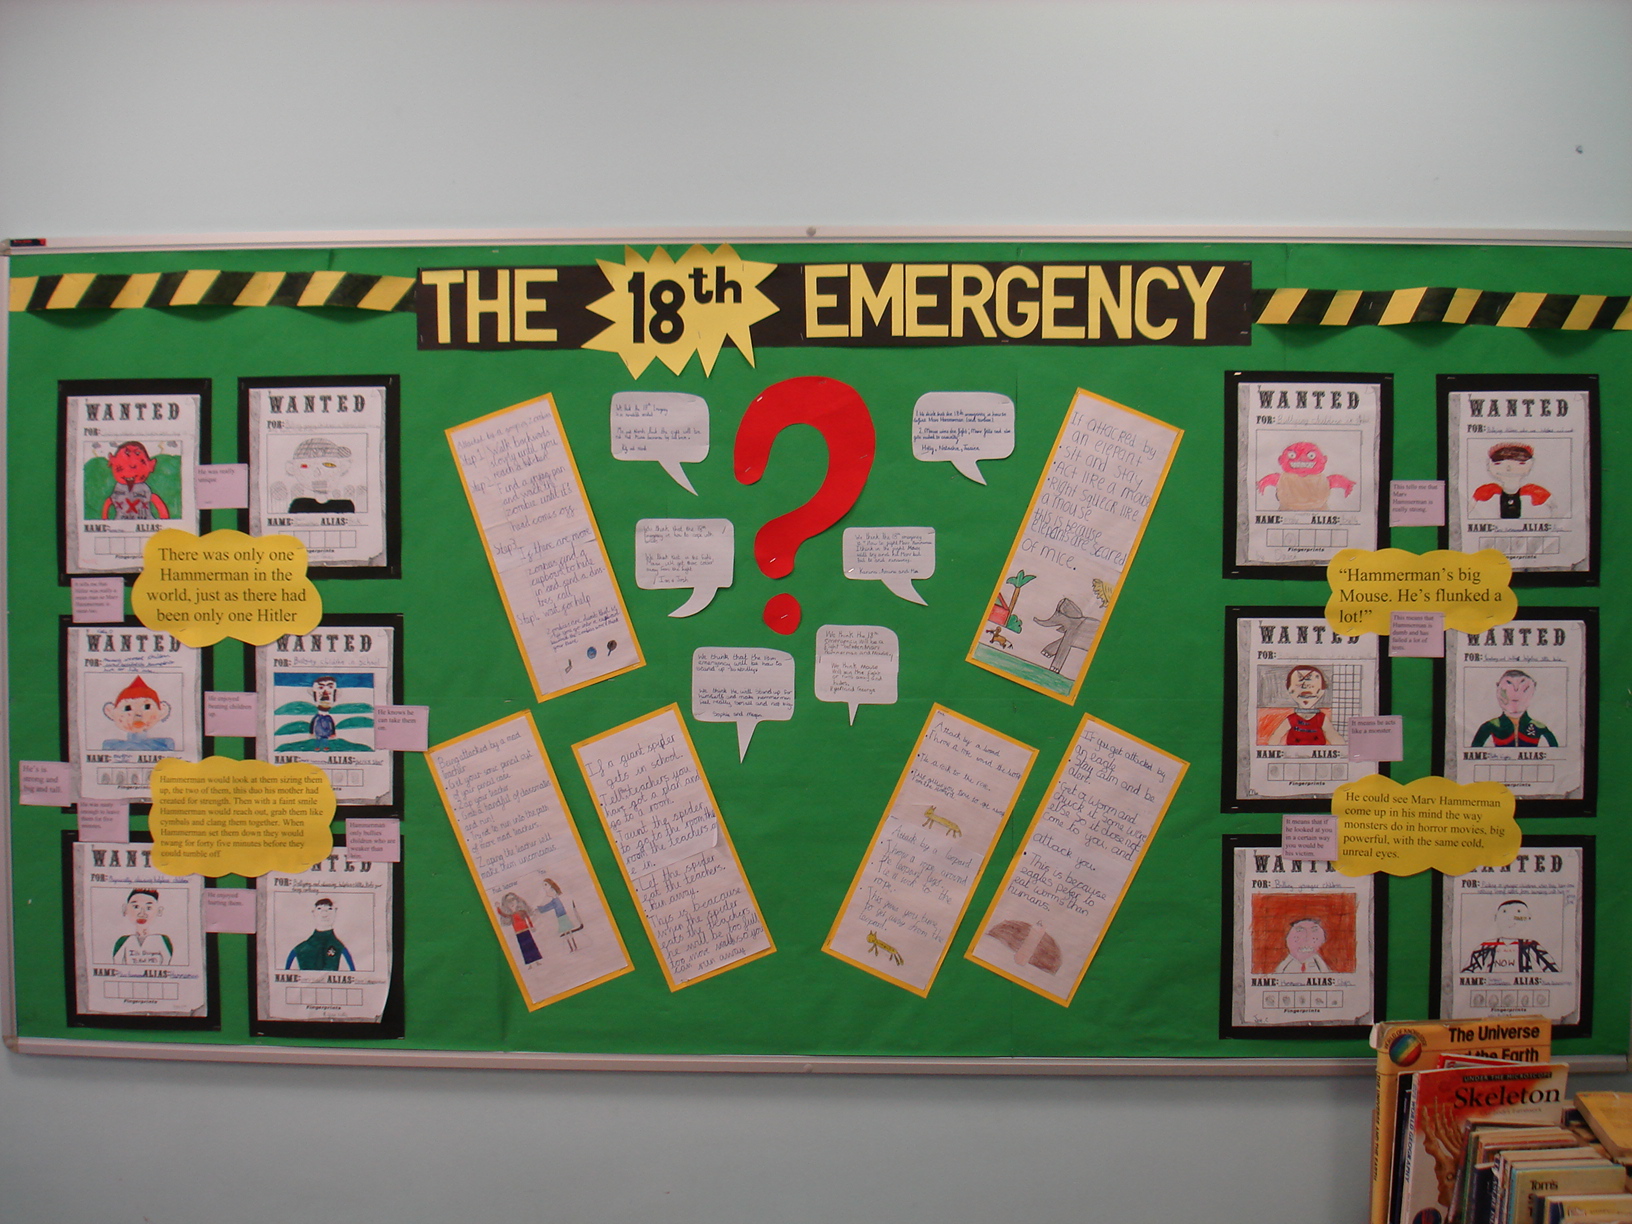
- Working walls These are displays which start quite ‘bare’ at the beginning of the topic and slowly fill and then at the end come down. These might include the children’s work, questions and answers and information. I use these as a record of what we have learnt and what we want to learn. If I provide you with an example it might clarify this. At the beginning of the topic on Romans, there might be some posters and/or information on the display board. At the beginning the children will establish questions they want to answer. As the topic progresses, the board will fill with children’s work, answers to the questions and important information that both the children and myself can add to. At the end of the topic we then summarise the activity and then take it down over half term/full term ready to start again.
I try to keep a balance around the classroom, so designating boards that will be covering, literacy, numeracy, science and topic, allows me to keep a range of subjects in the classroom. Creating a yearly plan can help both you and your adult support to remember what is going where. A quick sketch of what the final product might look like is also helpful for everyone.
Once you have identified the areas and purposes for your display then you can start to think about colours, both of the display paper and the border – yes always use a border :). This is when I would get all the paper out and have to lie the sheets next to each other to ‘see’ the clashes. On my plan I would write down what colours would be used and where. This just allowed me to remember and to maintain a range of colours throughout the room. I would heavily involve my TA in these, since she would often be heard to say to what I thought was a fantastic colour combination….’ermmm, no’
Remember you can follow Wilson Waffling on Twitter, Blog, Audioboo, YouTube and Facebook. I look forward to hearing your responses and ideas.
